The Stress-Free Magnetic Eyeliner Application Guide
The Stress-Free Magnetic Eyeliner Application Guide
Magnetic eyeliner is the “foundation” of your lash application, so you need to master it. 💯
After all, without magnetic eyeliner, there’s nothing for your magnetic lashes to be attracted to and they simply cannot stay on without it! 😱
So, although it may be obvious, it’s worth stating that magnetic eyeliner and magnetic lashes go together!
And I totally get it if applying eyeliner is not your strong suit.
Many people struggle applying eyeliner in general…magnetic or not.
But, there’s hope!
If you’re not good at applying eyeliner, you can definitely get better with practice 🥳…
…I’m living proof…
In the beginning, I couldn’t apply the liner straight and my hand would shake sooo bad!
Over time I consistently got better and better. In the process of learning, I picked up the following valuable tips!
So, whether you’re a complete beginner or a seasoned veteran when it comes to applying your magnetic eyeliner, I hope you pick up something new and valuable to add to your bag of eyeliner application tricks by reading this blog article! 👇🏽

Let’s get started...
Step 1: Shake the Bottle
You must shake your magnetic eyeliner bottle! Think around 10-20 good rapid shakes before you open the lid.
Why do you need to shake the bottle?
________________________________________________
NOTE: Want 25% Off Your Next Magnetic Lash 🧲 Order? Click here and sign up for our Newsletter!
________________________________________________
The critical iron oxide ingredient that gives the eyeliner its magnetic qualities will settle at the bottom of the bottle.
So, if you don’t shake the bottle, you won’t get a consistent amount of the right ingredients each time you apply the eyeliner on the applicator tip.
The result?
Well, your lashes won’t stay on as well because there may not be enough magnetic ingredients! 😥
Step 2: Get Enough Eyeliner on the Applicator
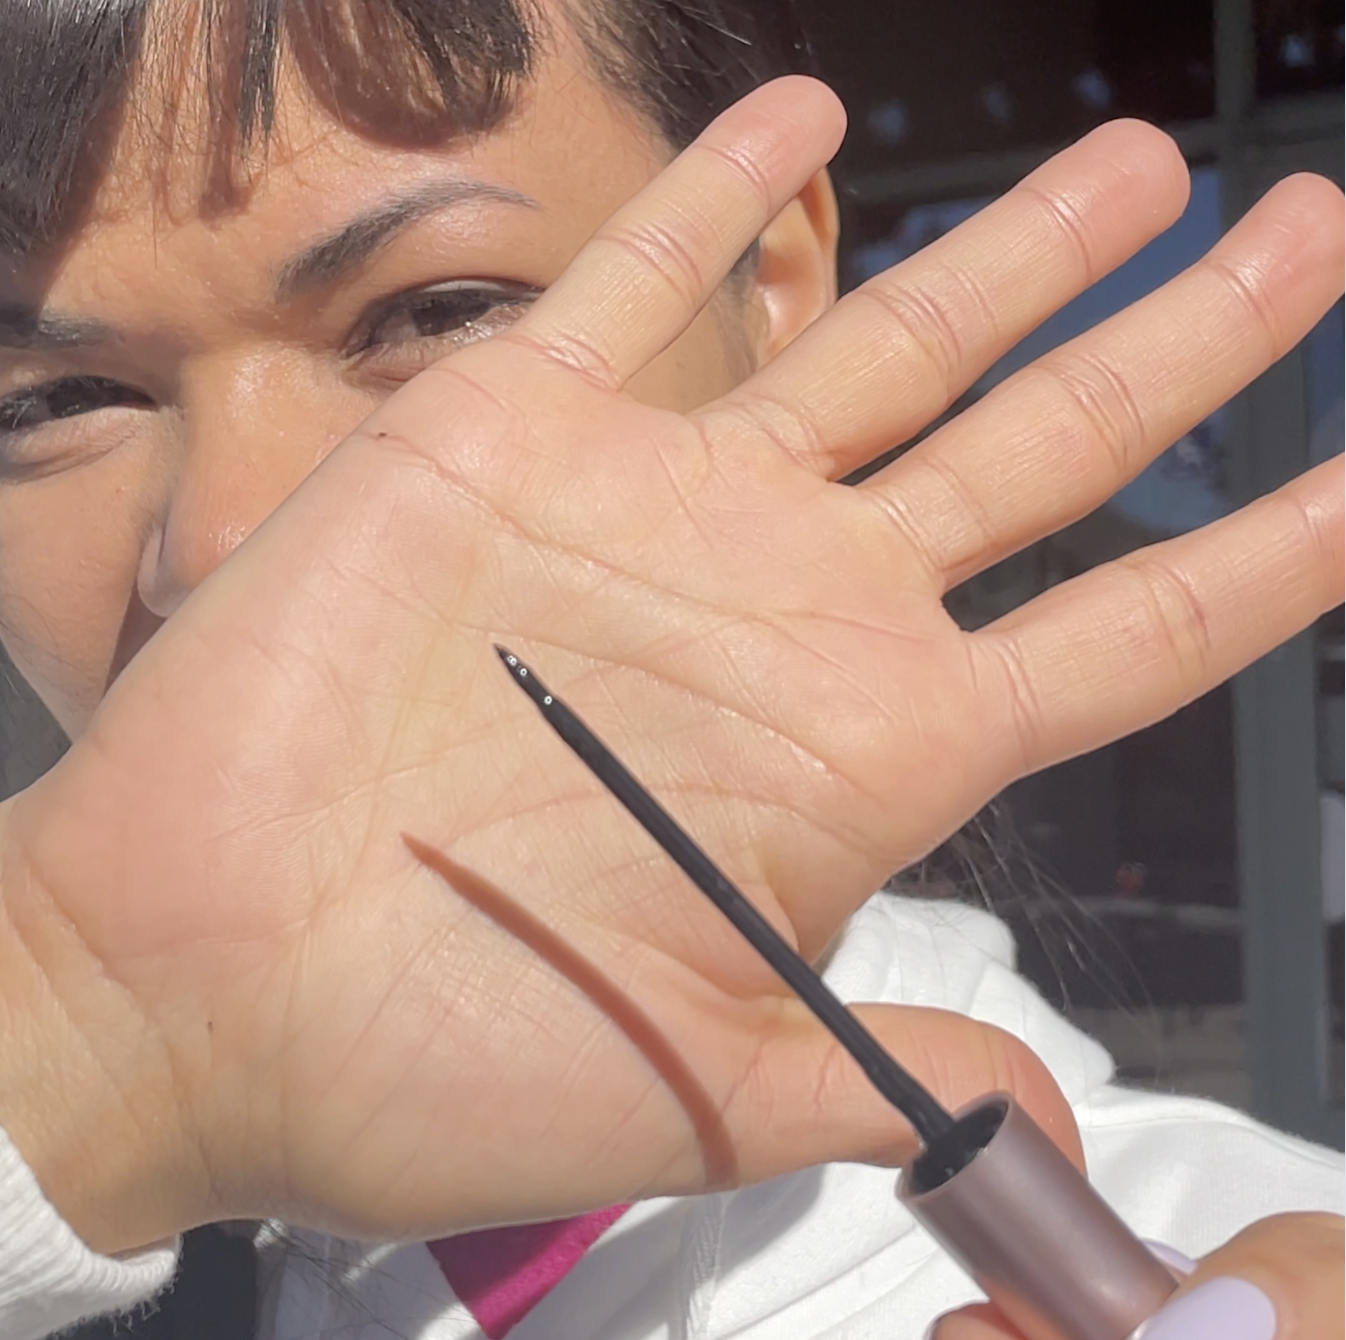
Make sure you have enough eyeliner on the tip of the applicator, but not too much.
After I screw off the eyeliner bottle lid, I like to then plunge the liner applicator stick in and out of the bottle 5-10 times quickly to make sure I have enough liner on the tip of the applicator.
I then wipe any excess liner from the applicator tip onto the inside lid of the bottle if there’s too much liner built up on the applicator.
You’ll also want to ensure there’s no dried or gunky eyeliner balled up on the tip of the applicator.
The liner should be smooth and liquid. This is one of the reasons it is soooo important to tightly screw your liner bottle cap back on the bottle after each use.
And, don’t leave the bottle open for more than a few minutes at a time!
If any air gets into the bottle for a prolonged period, the liner will dry out causing these nasty clumps! 😔
Step 3: Get in Position to Apply the Eyeliner
Make sure you have good lighting and a mirror. 🪞
Then, I like to pull the corner edge of my outside eye to stretch my eye line with my non-application hand.
I find that the tighter my skin is, the easier it is to be precise with the eyeliner applicator tip. This creates a straighter and more consistent line.

It also reduced the number of strokes I have to make with the applicator, which again creates a better-looking result and fewer chances to mess up.
Step 4: Apply the Liner in the
Perfect Place with the Perfect Thickness
Apply the liner on your eye line as close as possible to the root of your natural eyelashes. Remember that the place you apply the liner on your eyelid 👁 is where the magnets on the lash band will be attracted to.
But, be careful not to get the liner on your natural lashes! It is a balancing act!
I know this is kind of obvious, but we’ve seen some customers apply the liner too high on the eye line, which creates a gap between their natural lashes and the magnetic lashes. This gap looks super unnatural and not ideal.
Also, Thickness Matters…
Apply the liner in a line as thick as the size of the magnets 🧲 on the lashes.
It's better to apply a thicker line than a thinner line, which creates more surface area for the magnetic lashes to apply to.
In fact, sometimes I’ll apply multiple coats of the liner to get the perfect line!
If this is ideal for you, apply the first coat of liner and let it dry. Then apply a second coat of liner several minutes later.
It’s important to consider that if the line is too thin, the magnets on the lashes will not adhere well to the liner and the lash will come off far too soon or lift at the corners! 😡
I can’t emphasize enough that having your lashes come off because of poor liner application is super annoying.
Not to mention, you’ll ruin your look without your even knowing it and waste a lot of time correcting the mistake! 🤬
Last, make sure the magnetic liner is applied across the entirety of your eye line (starting from where your natural lashes start to where they end).
Without complete coverage across your entire eye line, the magnets at the ends of the lash band may not adhere to the liner properly, which is the culprit of almost every time your lashes lift at the corners.
Step 5: Let the Liner Dry
You’re almost done!
Once you have applied the liner with the perfect thickness across your ENTIRE eye line, wait a minimum of 1 minute for the magnetic liner to dry completely.
Depending on the amount of liner you have put on, you may need to wait 2 or 3 minutes. I know waiting stinks, but it’s for the best!
Here’s why…

Wet liner does not have nearly as much strength as dried liner.
Also, if the wet liner 💦 gets on the small magnets on your lash band, it can cover the magnets up and the dried liner may be difficult to remove from the magnets later.
Magnets covered by liner are not nearly as strong and your lashes won’t be reusable up to 50 times. 🤬
________________________________________________
NOTE: Want 25% Off Your Next Magnetic Lash 🧲 Order? Click here and sign up for our Newsletter!
________________________________________________
Finally, wet liner can cause the individual hair strands of your magnetic lashes to clump together. This not only can damage the lash, but it can make the lash lose its natural shape and natural beauty.
So, there you have it!
You now know how to apply magnetic eyeliner! Congrats! 🥳
The only thing next to do is to apply the magnetic lashes to the liner!
Now, Before You Go...
...there are a couple of final pieces of advice you should consider…
(1) Be patient! You probably won’t be good at applying magnetic eyeliner the first time you do it (if you are an eyeliner beginner).
I recommend that you set aside 30 minutes to an hour ⏱ (if you are a new beginner) to practice.
Try applying the eyeliner as directed.
If you mess up…no big deal!
Simply use non-oil-based makeup remover and a cotton Q tip to gently remove the eyeliner from your eye. 👀
Then try again!
(2) If you are really struggling to get the perfect line with our black or brown liner, consider buying our MAGNA CLEAR magnetic eyeliner. It is clear, which means that your eyeliner application mistakes won’t show up like they will with our black or brown liner.
In fact, we have blind clients (literally) who use our MAGNA CLEAR liner 🤍 because it allows them to wear magnetic lashes and put them on by themselves without even seeing what they are doing!
They simply use the feel of the applicator on their skin to know where it is going.
If this isn’t proof Clear Liner could be a game-changer for you, then I don’t know what is. 🤩
So, go shop 🛒 our clear liner now...click here.
(3) If you are really struggling or simply want more hands-on help, we’re always here for you! We offer a free lash consultation where we’ll jump on a live ZOOM call with you and help you with the liner and lash application process.
To schedule 📆 yourself, simply click here and choose a time that works for you. Then, an email invitation will automatically be sent to your inbox with the ZOOM link 🎥 for the meeting!
Or, if you prefer, you can simply email us at support@everylash.com!
We are always here for you! 😘
Finally, remember that if you think your lashes aren’t “working” for you, then it’s most likely your liner application that is the problem.
Re-read this blog and schedule a call with us. Or, you can email us at support@everylash.com. We’re certain we can turn you into a magnetic lash pro!
Love,
The Everylash Team ❤️
BUY MAGNETIC LINER TODAY!

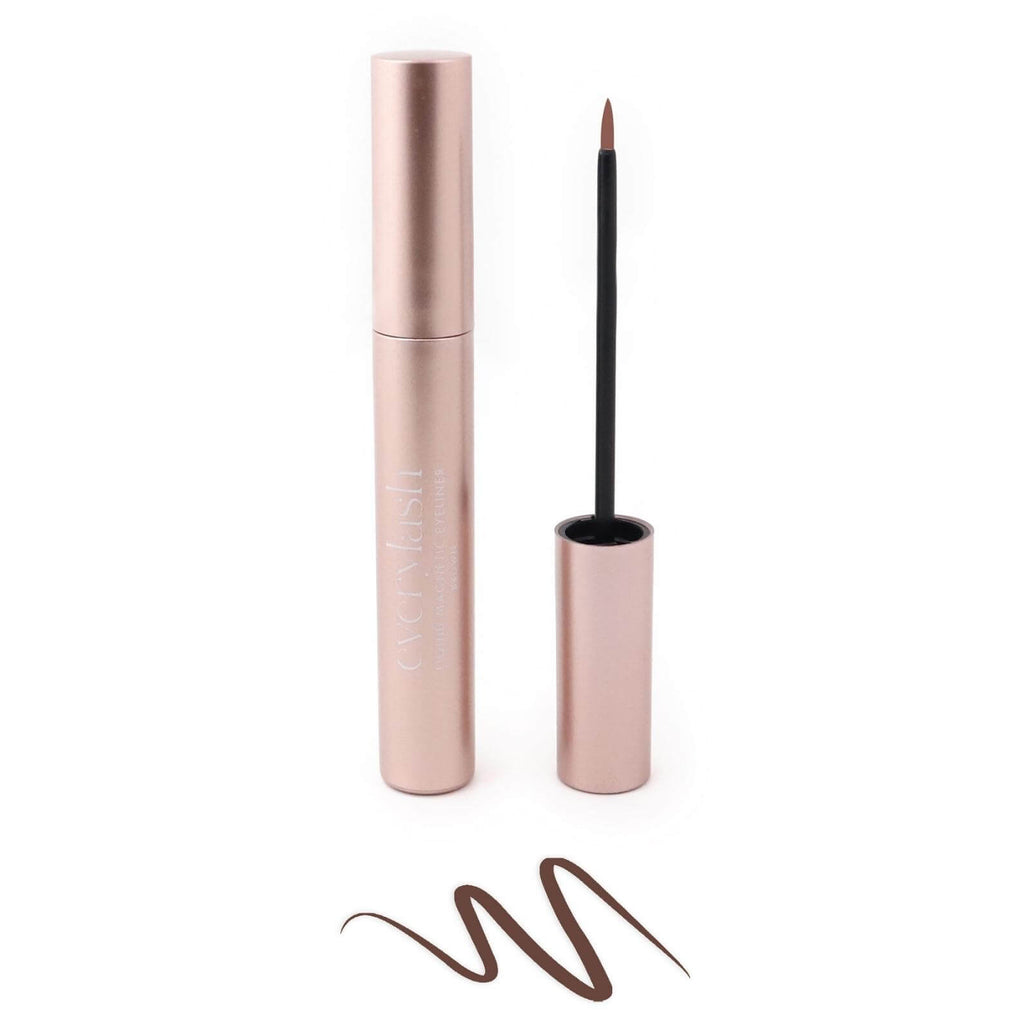
Black Magnetic Liner
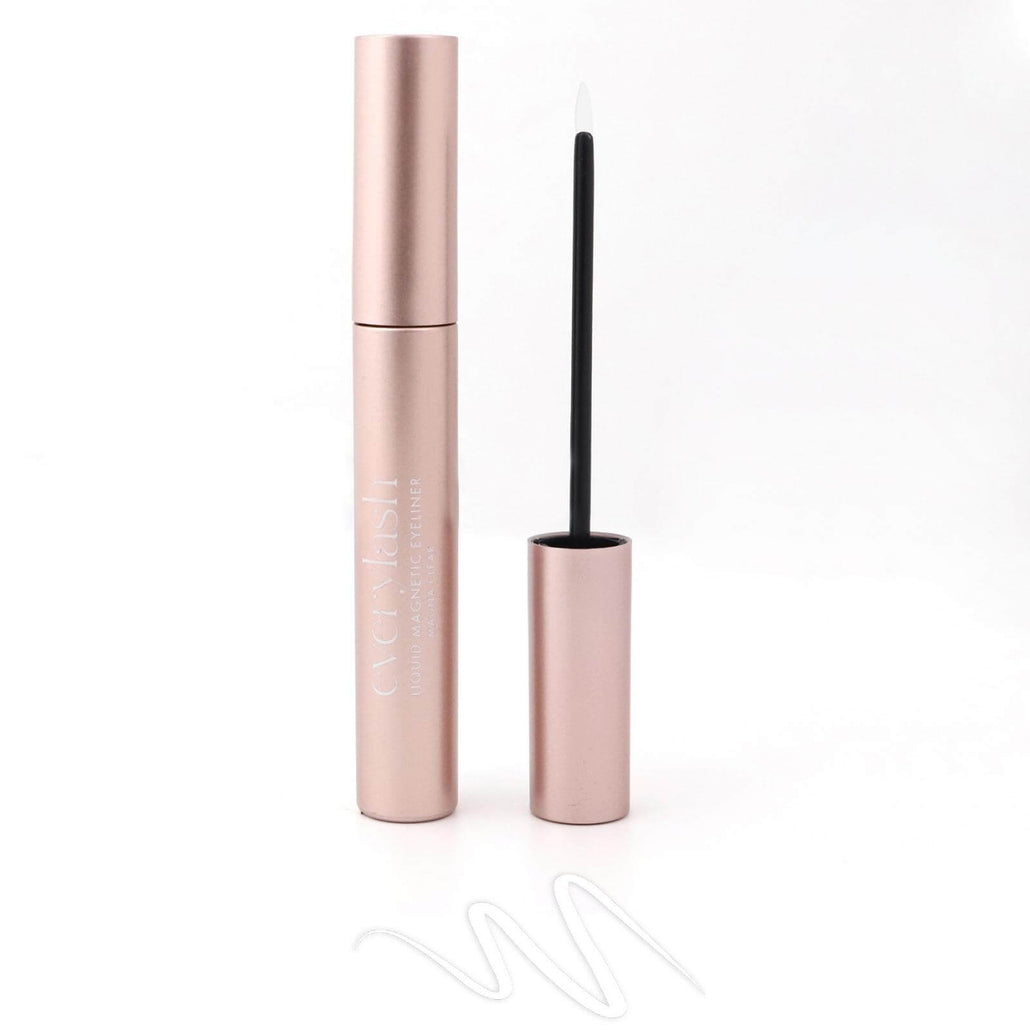
Clear Magnetic Liner