How to Perfectly Place Your Magnetic Lashes
How to Perfectly Place Your Magnetic Lashes
Finally, the moment we’ve all been waiting for!
Once, the magnetic liner 🧲 is dry, it’s time to place your magnetic lash on the magnetic eyeliner…how exciting! 🤩
If you haven’t checked out the first critical magnetic lash application steps that come before placing your magnetic lashes, check them out below 👇...
1. Measuring your lashes to make sure your lashes fit correctly right out of the box.
2. Trimming your lashes to get the perfect lash fit for your eye size and shape if the lashes do not fit right out of the box.
3. Understanding how magnetic liner works and choosing the perfect magnetic eyeliner for you.
4. Applying magnetic eyeliner perfectly.
Don’t skip these 4 blog entries…the steps outlined within them are a MUST before you can place your magnetic lashes.
Once you’re ready, continue below!
Step-By-Step Lash Placement Guide
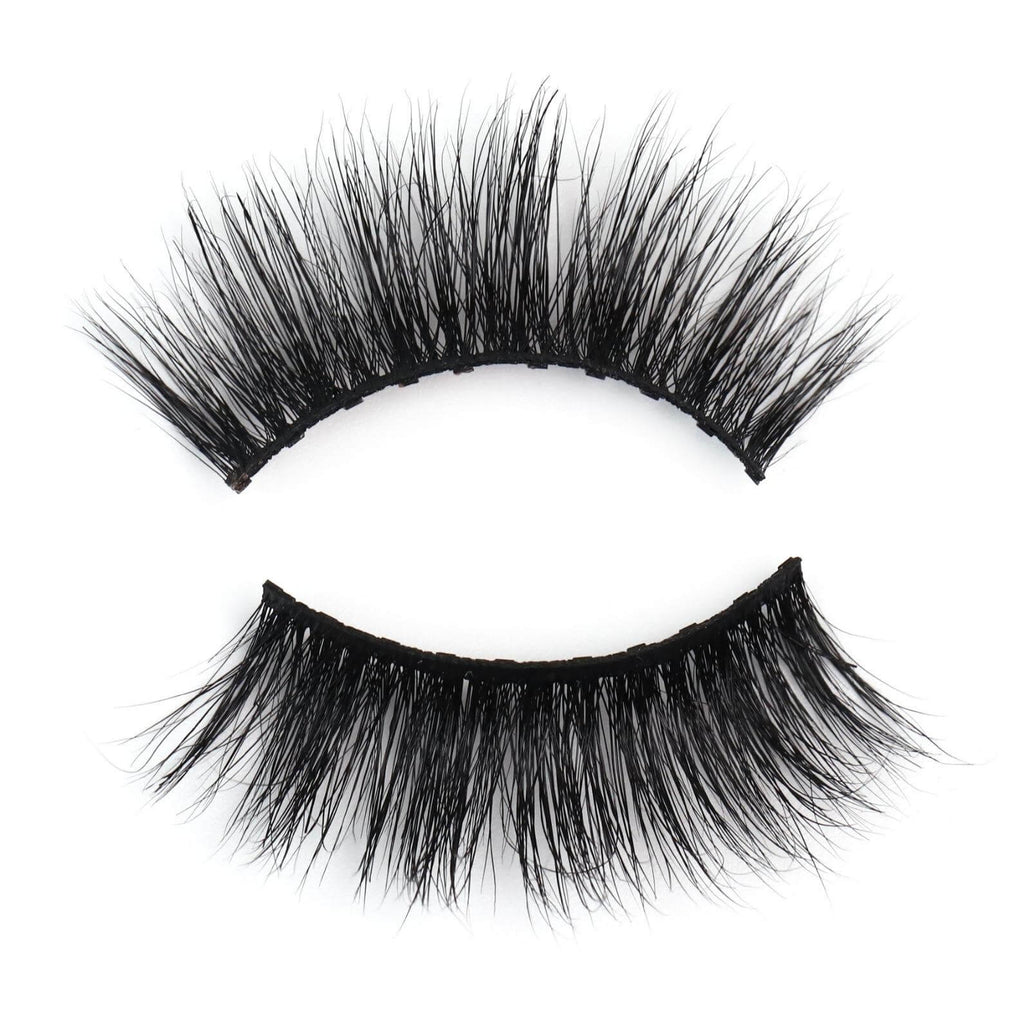
a. First, take your lashes one at a time from their original packaging if you have not already done so using your fingers 👌or the Everylash Rose Gold Lash Applicator.
b. I usually position the lash between my pointer finger and thumb by grabbing the outside edge of the lash…the side that will match up with the outside corner of my eye.👁

Whether or not you use the lash applicator is up to you…it’s a personal preference!🥰
As you’ll soon see below, the applicator can be very helpful when making adjustments to the lash placement.
(c) Once I have the lashes firmly in the grasp of my fingers or applicator, I then place the magnetic lash on my eye aligning it to the center of the magnetic eyeliner (already applied on my eye line).
This means that both ends of the magnetic lash match up to the ends of the liner. If you do this correctly, you’ll notice the middle magnets on the magnetic lash will attract to the magnetic liner in the middle of the liner as expected.
Sometimes, but not always, the magnetic lash will align perfectly to the liner immediately and snap into place! And, you’ll be done! Yay!!! 🥳.
But, what do you do if the lash isn’t placed perfectly and you’re not happy with the results? 🧐
Well, head to the next step and find out!
After you have completed the previous step of placing your magnetic lash, you’ll likely need to make small adjustments to the lash placement to get the perfect results.
Here are some scenarios you may encounter and how to deal with each of them:
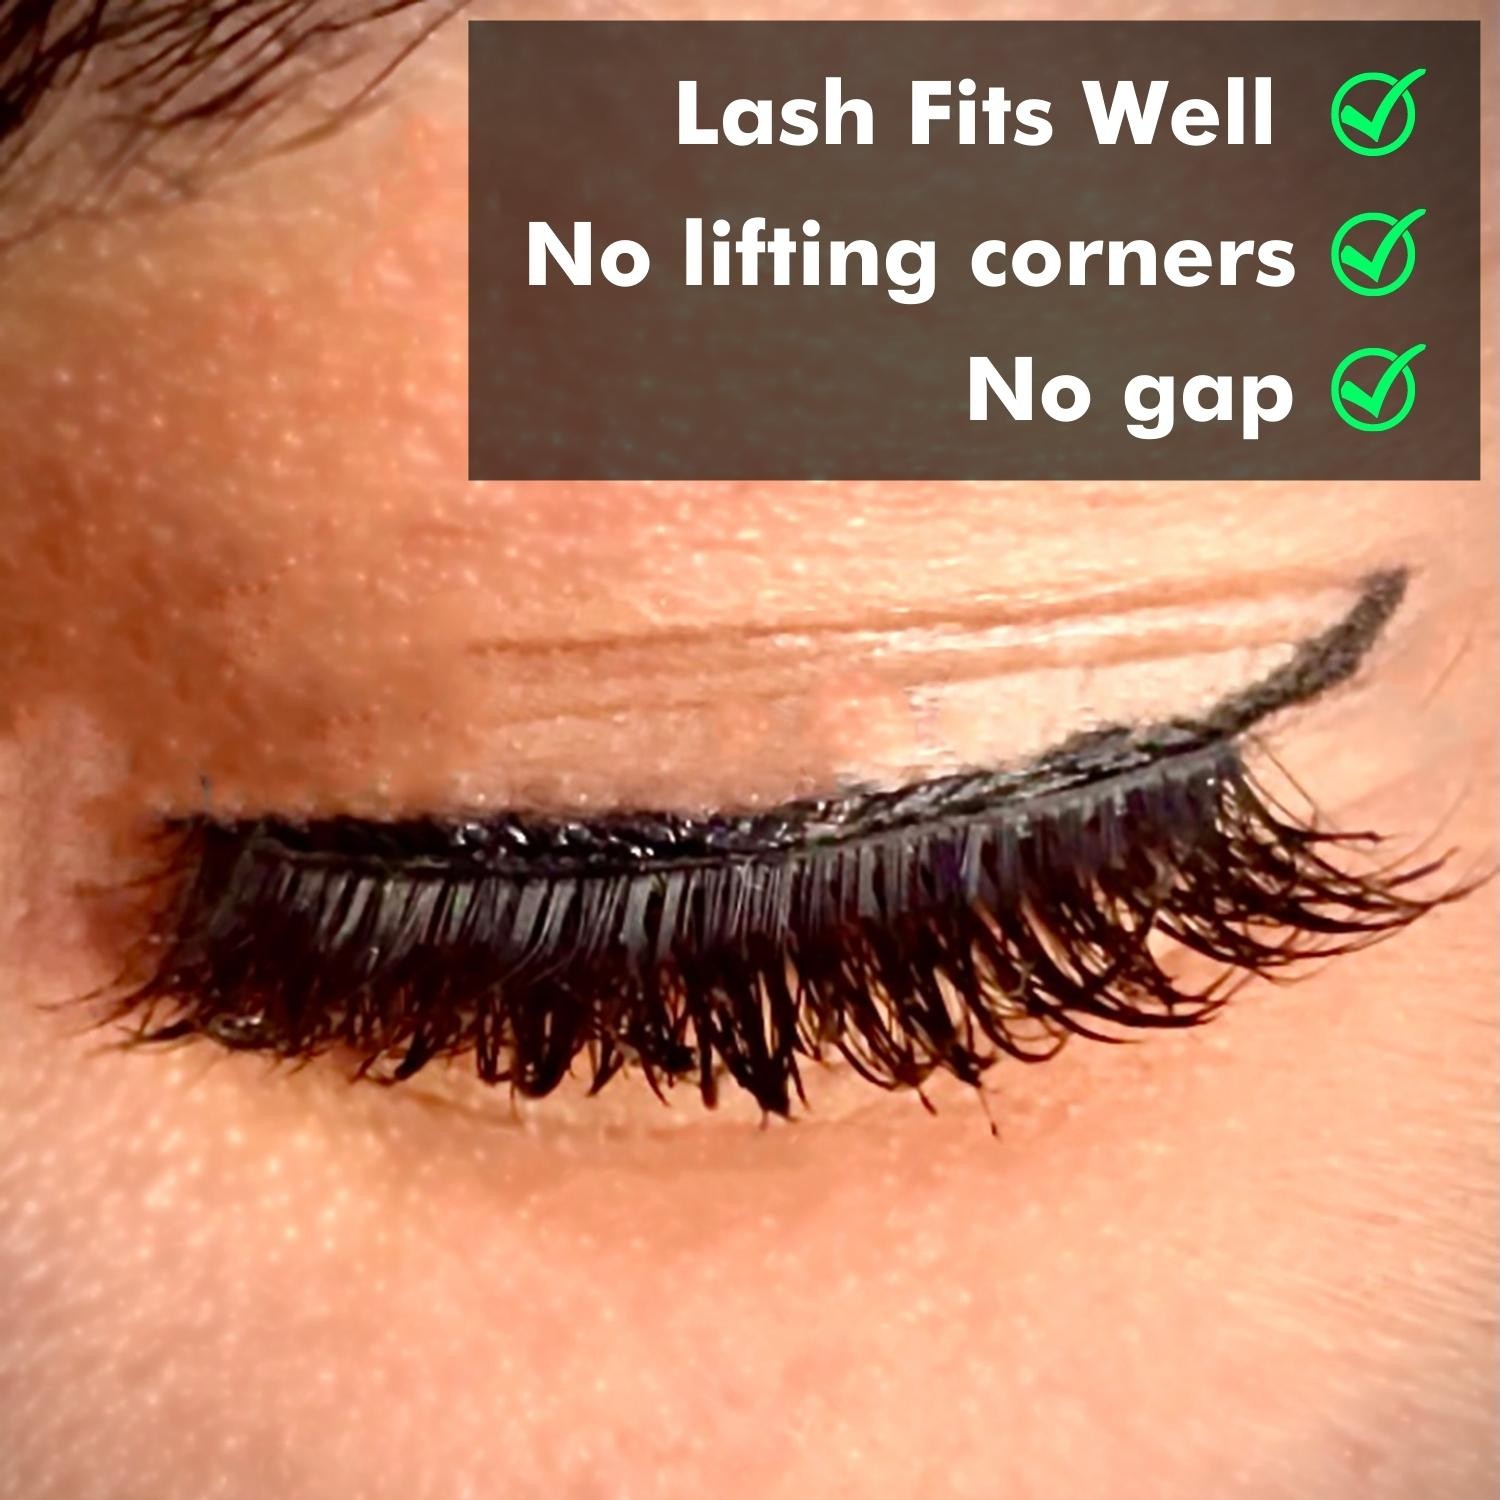
i. As previously stated, the lash may be in a perfect position firmly attached to your eye line.
In this case, the corners are not lifting and the lash fits perfectly on your eye...
...If this is the case, you do not need to do anything else.
Still, just to make sure everything is perfect, I usually will:
✅ Blink several times to ensure the lash is staying in place.
✅ Then I’ll inspect the lash position from several angles in a high-resolution mirror with good lighting to be extra certain the lash position is perfect and my lash corners aren’t lifting.
Here’s why…
Depending on what angle I am looking into the mirror,🪞the lash may appear to be fitting and staying in place, but, in reality, the corners or lifting or the lash actually needs to be adjusted.
For example, there are times when I’ll turn my head to the side to inspect the outside corner of my eye to then realize that the outside corner of the magnetic lash is lifting, which I could not see when I looked into the mirror head-on.
If you don’t inspect the lash position from all angles, you may later realize the lash is lifting at the corners or someone else may point it out to you, which is never fun! 😢
ii. The 2nd scenario is that you realize the lash corners are still lifting (either on the inside or the outside edges).
The good thing is that you recognize the issue and can now fix it!
If the corners are indeed still lifting, simply press the corners down more firmly onto the magnetic liner and re-inspect.
This additional “press” should do the job.
Then repeat the previous step of looking at the lash from all angles to double-check the result.

If you measured, sized, and trimmed your magnetic lashes correctly, and took the time to press the corners into place, the lash corners should not lift after you press them down and the lash should neatly fit in the correct place on your eye and magnetic liner as expected. 🥰
Nonetheless, if the corners of the lash are still lifting despite multiple attempts to push them down firmly on the magnetic eyeliner, there could be several reasons why this is happening:
a. You may not have placed enough eyeliner on your eye line before attempting to place your magnetic lashes. As described in our magnetic liner application guide, you must apply the magnetic liner with a thickness equal or greater than the thickness of the magnetic lash band.

b. Alternatively, you may have applied the thickness of the eyeliner correctly, but you didn’t cover your entire eye line.
That is, you may have missed a couple of millimeters of magnetic liner coverage on a part of your eye line. When this occurs, the small magnets at the end of the magnetic lash band will have nothing to adhere to.
In this case, simply apply a very small dab of the magnetic liner to the part of your eye line that is naked. You may need to lift the corner of the lash with your lash applicator or fingers to make way for the magnetic eyeliner applicator.
As long as you don’t require too much magnetic liner to solve the problem, you can likely get away with applying this smaller amount of liner without removing the lash entirely.
So, the point here is simple…CHECK YOUR MAGNETIC EYELINER!
Corners that perpetually lift usually are the result of an “eyeliner problem.”
(c) Another reason the corners may lift is that the lash was placed where the liner is not present on your eye line.
I know it seems obvious, but those of us who are in a rush or simply have poor vision may be placing the magnetic lash several millimeters too high or too low above or below the magnetic eyeliner.
Even if you applied your magnetic liner perfectly, if you don’t place the magnetic lash directly on the magnetic eyeliner for all the magnets on the lash band (most of Everylash lash styles have 10 magnets each), the lash will likely lift at the corner or not stay on well. 😣
(d) The final reason your corners keep lifting is the most unlikely: you trimmed your lashes incorrectly! ✂️Remember, you DON’T NEED to trim your lashes. Only trim your lashes after measuring them as described in our Lash Measuring Guide.
Specifically, as described in the Lash Trimming Guide, you must trim the lash band at the outside edge of the lash magnet to avoid an edge on the outside of the lash band.
For example, if you trimmed the lash band in the middle of two magnets, say, the 9th and 10th magnet on the lash band...

...then there will be a little edge left over which could create the illusion that the lash is lifting at the corner even though it is properly placed.
In this case, the cut on the lash band should have been made on the outside edge as close to the magnet on the 9th magnet.
The correction is simple…grab your lash trimmers and trimer the small edge off and then place your lashes again!
iii. The 3rd scenario is when you look at your lash results and the entire lash is attached to the liner, the corners are not lifting, but the lash still appears to be in an awkward or incorrect position.
For example, a key mistake that people make is placing the lashes too high up on their magnetic eyeliner.
This means that there is a gap or space between the magnetic lash and their natural lashes, which obviously is not ideal and is super unnatural/unattractive.
So, make sure you place the magnetic lash band as close to the base or root of your natural lashes as possible to avoid this unsightly gap! 👀
As described in our magnetic liner application guide, the placement of the magnetic liner also should be as close to the base of your natural lashes as possible to prevent the gap described above.

Typically, if you’re seeing a gap between your magnetic lashes and natural lashes, the problem stems from the liner being applied in the incorrect place on your eye line (i.e. too far away from the base of your natural lashes).
Another positioning mistake we see is when someone places the lash too far to the inside corner of their eye.
This may be the result of the lash being too big and is not trimmed or sized correctly. You can imagine that if the lash is too big it will force the lash band to overreach or extend beyond the optimal placement.
If this is the case, simply trim your lashes!
Again, if you haven't already done so, check out our measuring guide here and our trimming guide here.
Alternatively, you may have measured and trimmed your lashes to perfection!
Nonetheless, you simply placed the lash incorrectly.
Although there is no neat and tight rule for the exact lash placement, we generally suggest that the lash should extend to the outside and inside corners of your natural lashes.
You can get away with having a little gap (i.e. where your lash does not cover your eye line) on the inside corner. But a gap on the outside edge of your eye line typically looks unnatural.
Regardless of how the lash is incorrectly placed, you’ll need to adjust the position of the lash altogether…
Now, re-positioning your magnetic lashes can be done in several ways!
Specifically, you can use your fingers to make the adjustment, but I find that the lash applicator is more precise for tiny little adjustments that may be necessary.
Whether you use your fingers or the applicator, you are going to need to move the lash.
Sometimes this requires completely removing the lash from the liner and starting from scratch...

...however, if the lash is not completely pressed down on the liner yet, you may be able to make the adjustments without completely removing the lashes.
In this latter case, I will gently tug the corner (inside or outside) of the lash in the direction I want to move it.
This takes practice, but it is quite simple...
Simply lightly tug and pull the lash into the place or direction you want it to go. Then, press the lash down onto the liner to make sure it is firmly in place.
If the small adjustments fail, you’ll have to remove the lash entirely and start over.
But don’t worry! It’s super simple to do this! 😊
Simply pull the magnetic lash from the inside or outside corner of your eye to the opposite corner of your eye until it fully peels off.
If you waited the correct amount of time for the liner to dry (1-minute minimum) as described in our liner application guide, then the liner should not be impacted (i.e. come off) by removing the lash (as long as you do it slowly, gently, and carefully).

In addition, there should not be a build-up of magnetic liner on the lash magnets 🧲.
If the liner is intact and the lash magnets are clean, then simply repeat the steps outlined in this lash placement instructional blog.
However, sometimes the liner is impacted (i.e. comes off, is smudged, or doesn’t look right). This happens more often if the liner was wet when you first attempted to place the lash.
So, always let your eyeliner dry! 💯
If your magnetic liner is no longer ideal after you remove the lash, follow the liner application instructions again.
This simply means re-applying your liner and letting it dry in the same way you have done before (for at least one minute).
If the lash magnets have eyeliner stuck to them after you remove the magnetic lash, you may need to clean the liner from the lash magnets. 🧼
Follow our magnet lash cleaning guide instructions here.
After cleaning the lashes, make sure they are fully dry before attempting to place them on your magnetic eyeliner.
And that’s it!
The only last thing
I’ll say is…
Although the placement of magnetic lashes is super easy once you get the hang of it, you may need to try several times when you are starting out to get the placement just right.
Be patient with yourself and trust the process! You’ll get it if you stick with it! 🤗
Again, lash placement is more of an art than a science since all of our eye sizes and shapes are different. The way one person places the lash may not work for another.

In addition, lash placement depends on:
✅ The steadiness of your hand.
✅ How good your eyesight is.
✅ Whether or not you have good lighting and a good mirror.
✅ How experienced you are at applying eyeliner and lashes in general.
✅ And, how much patience and time you have when applying the lash can make a big difference. Every time I rush, for example, I don’t get the best results!
So, the only foolproof way to ensure your lashes are placed perfectly is to practice, practice, practice. 🤗
The great thing to remember is that magnetic lashes allow you to practice as much as you want!
Why?

Because, unlike glue...
✅ The magnetic liner won’t damage your magnetic lashes as long as you keep them clean after each use.
✅ You can take the lashes off and put them on multiple times back to back to back in a single session.
✅ Your lashes will last up to 50 individual all-day wears!
Try doing that with glue or extensions...
It is impossible!!!
Finally, if you’re really struggling or simply want more support, we’re always here for you!
First, if you have any questions or concerns...
Email us 📧 at support@everylash.com.
In addition, if you want more hands-on help, we offer a free lash consultation where we’ll jump on a live ZOOM call 🎥 with you and help you with the liner and lash application process.
To schedule 📆 yourself, simply click here 👈 and choose a time that works for you.
Then, an email invitation will automatically be sent to your inbox with the ZOOM link for the meeting!
We’re always here for you! 😘
Love,
The Everylash Team ❤️
BUY MAGNETIC LINER TODAY!

Black Magnetic Liner
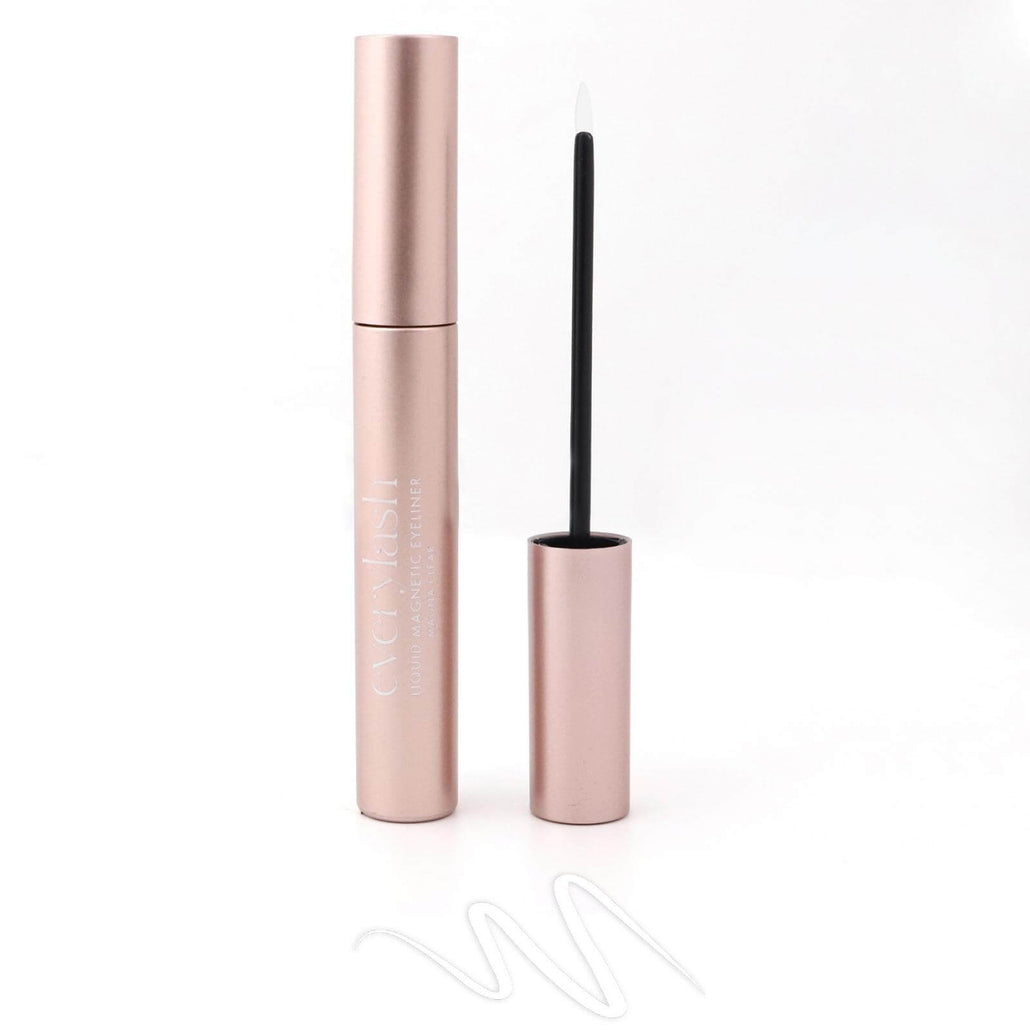
Clear Magnetic Liner
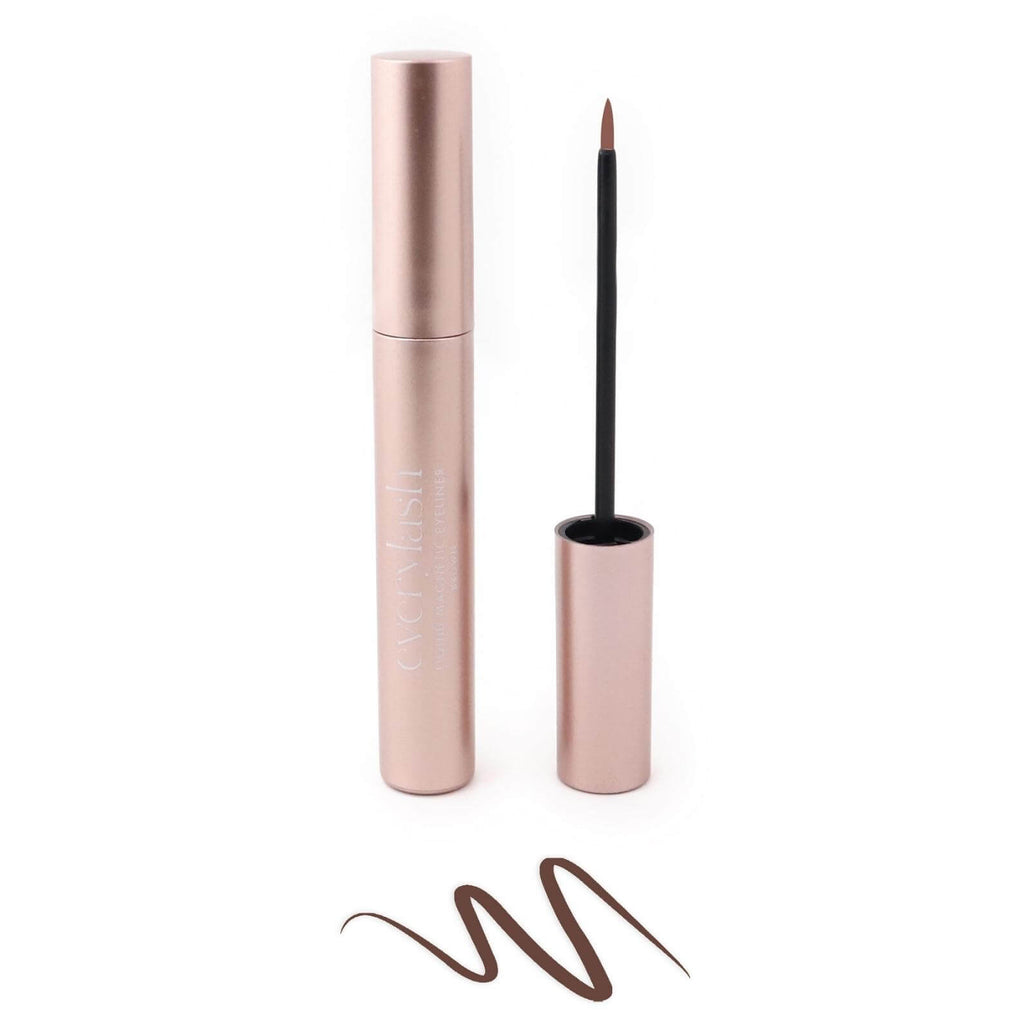
Brown Magnetic Liner
BUY MAGNETIC LASHES TODAY!
ACTIVELASH
HUSTLELASH